Daily Plan Execution
You are a field engineer working on a project that includes the erection of steel members for a steel support structure. Your daily plan is to erect A7 connections to foundation with a Grove - RT880E crane. Your foreman is absent for the day. With him being out, it is your responsibility to handle the Execution Phase of his daily plan. The Execution Phase includes reviewing the plan at the start of the day for any mistakes, entering all actual hours and quantities at the end of the day, and finally signing out all employees so the daily plan can be submitted for approval. You do not have an iPad; therefore, you will have to execute the daily plan in the InEight Plan application on the web.
- Randy Kielly – Ironworker Foreman
- Kenneth Moore – Carpenter
- Troy Brown – Ironworker
- Joseph Kelly – Ironworker
- John Walsh Jr – Ironworker

In this topic, you will review a daily plan in the Execution Phase in detail and make changes to the plan throughout the day to reflect what actually occurred.
To follow the scenarios or Step by Steps in this phase, you must submit your daily plan.
Daily Plan Execution
In the Execution Phase, a daily plan has the following tabs:
-
Overview
- Details
-
Timesheet
-
Quantities
-
Notes/Issues
-
Productivity
-
Sign In/Sign Out
In the Execution Phase of a daily plan, you will notice all system accents change to green and in the breadcrumbs area next to the plan name, it will now say Execution.
It is a best practice for the plan executor to review a daily plan to examine each tab and verify understanding of all task, notes, tool box talks and planned quantities before executing the work. If any information is confusing, incorrect or missing, they should consult the planner or supervisor and modify or add to the daily plan as needed.
The following sections walk you through what has changed on each tab from the Planning Phase to the Execution Phase, as well as provide some information on how to add or edit information during the Execution Phase.
Overview Tab
The Overview tab maintains the same information from the Planning to Execution phase.
Details Tab
The Details tab is almost identical to the Details tab in the Planning Phase. The only difference is you can no longer edit the Planner Notes field and it contains all the notes made during the Planning Phase.
Like the Planning Phase, under the Tool box talks section, you can add, edit and delete items for each of the four different areas (Safety, Quality, Environmental, and General discussion).

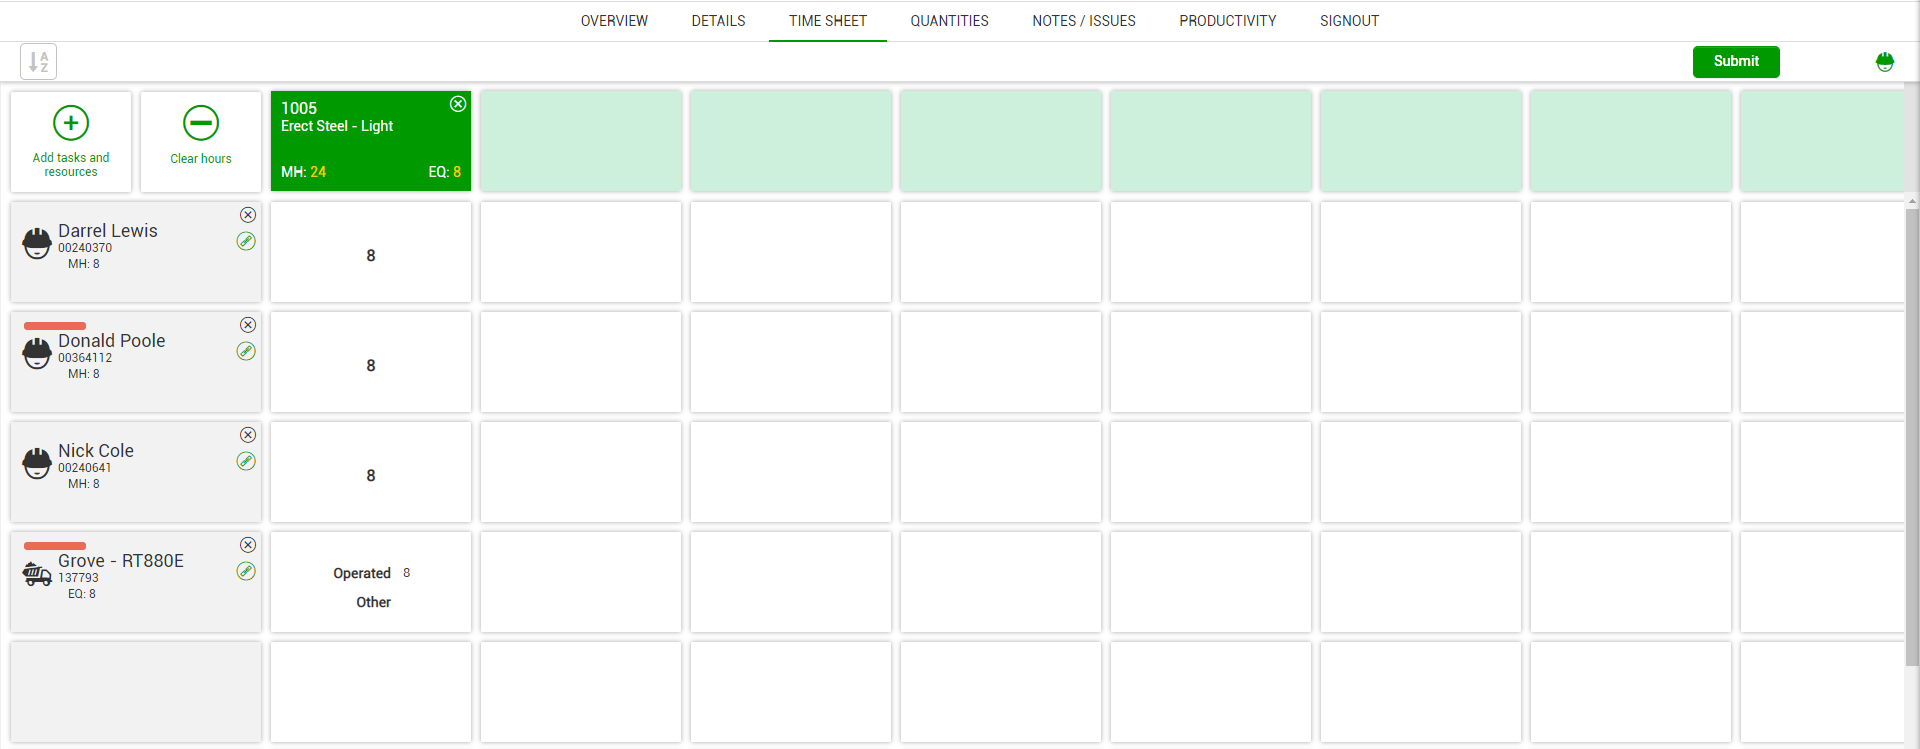
Timesheet Tab
The Timesheet tab is identical to the Timesheet tab in the Planning Phase, the only difference being that it shows all hours assigned to each resource/task in the Planning Phase. You can edit, delete, or add tasks, labor, and equipment to reflect the employees/equipment and task completed over the course of the day.
This is where you input actual hours, which will be covered in detail in the next topic of this lesson.
Temporary Resources
Going back to the scenario at the start of the lesson, while reviewing your daily plan, you notice that Kurt Fleming has not been included in the plan during the Planning Phase. This is because today is his first day and he is not in the payroll system yet, but you would still like to be able to include him in the plan for the day. Within the Progress web application, you can do this by creating a temporary labor resource for Kurt and then swapping him out with his actual resource once it has been created in payroll.
The following Step by Step walks you through how to add a temporary labor resource.
Add a Temporary Resource
-
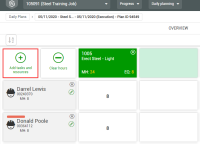
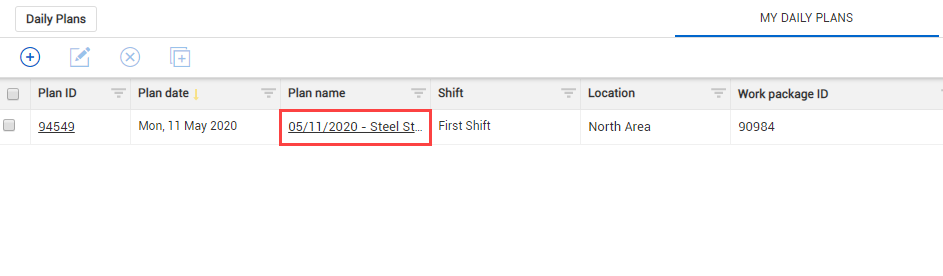
From the Daily Plans page, open your daily plan.

-
A prompt appears stating that the plan is in the Execution Phase
-
-
Click on Timesheet tab.
-
Click on the Add tasks and resources button on the left.
-
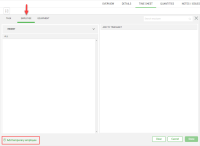
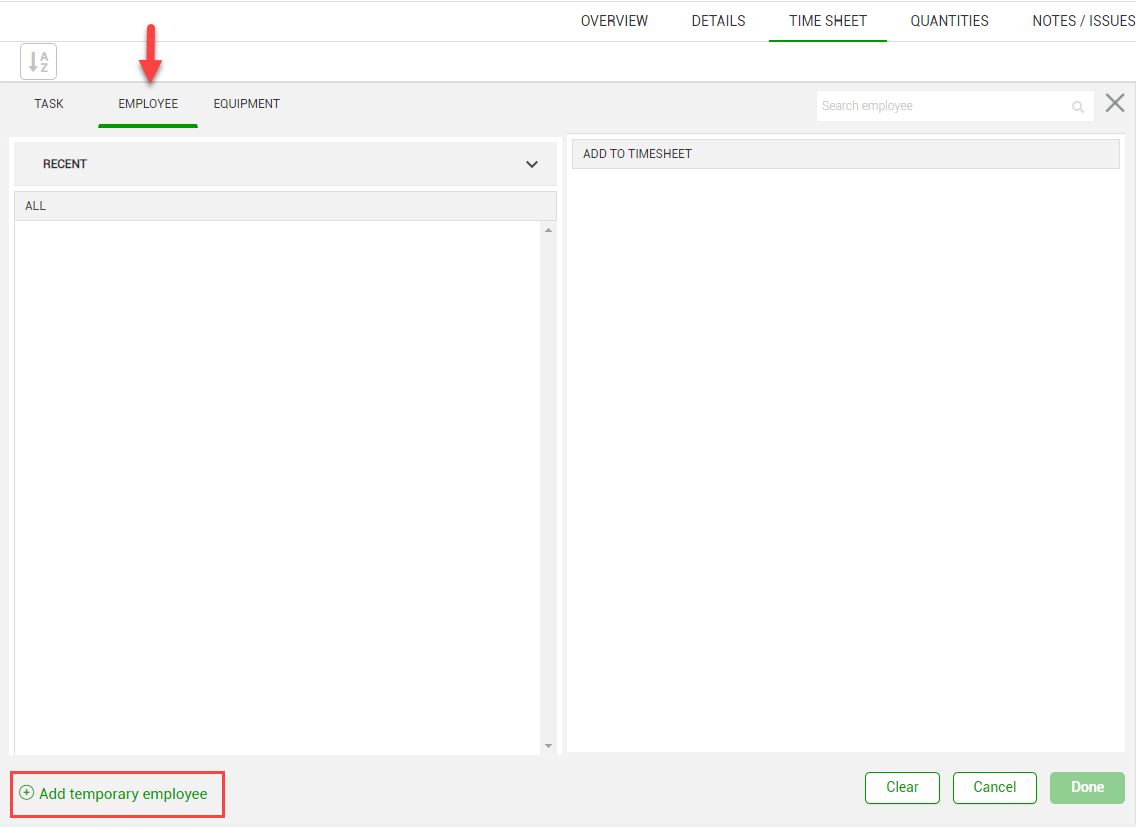
On the resulting slide out panel, click on the Employee tab.
-
Click on Add temporary employee at the bottom of the screen.
-
In the Temporary employee name field, enter a temporary employee's name.
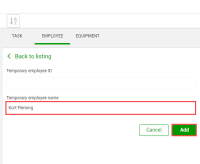
-
Click Add.
-
Click Done to close the slide out panel.
-
The temporary resource is added to the time sheet
-


Quantities Tab
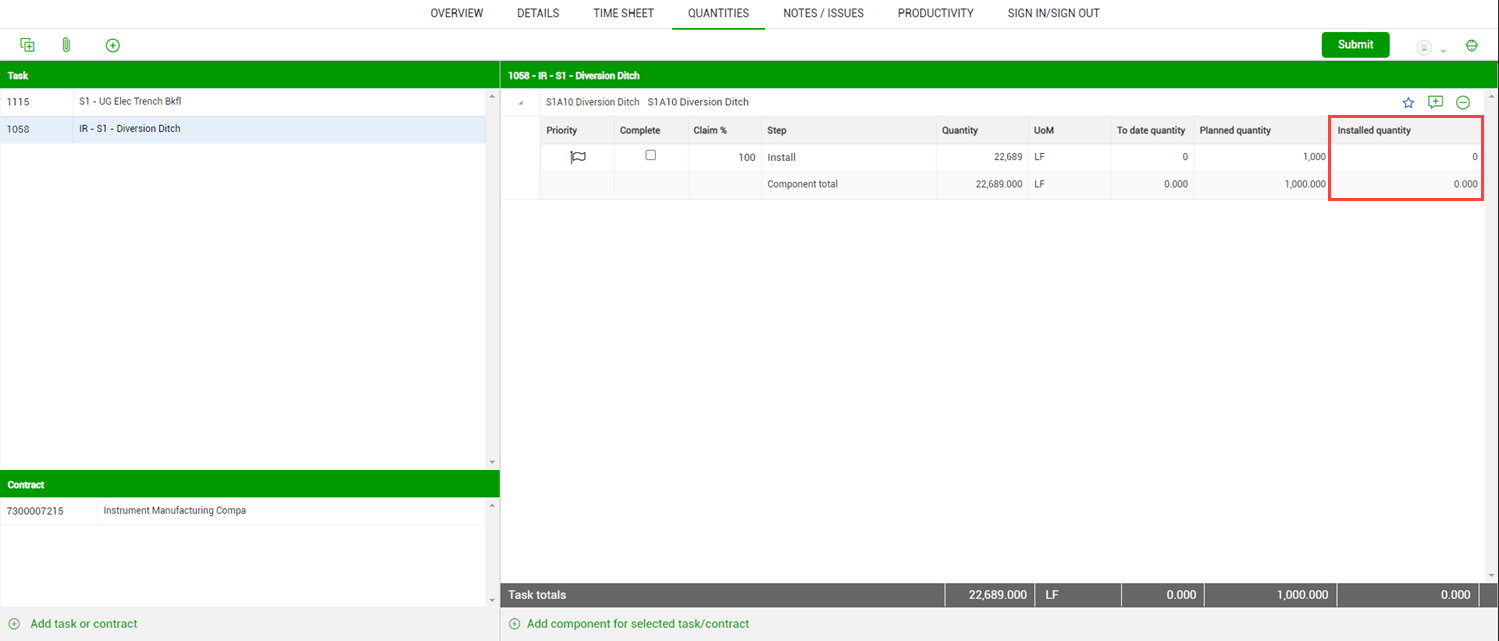
The Quantities tab is identical to the Quantities tab in the Planning Phase. However, when viewing the claiming schemes of the components in the daily plan, instead of the Planned quantity field being the only editable field, now the only editable field is the Installed quantity field.
Installed quantities will be entered in the next topic of this lesson.
At this point, tasks and contracts can only be added, not deleted; components can still be added or deleted as needed.
Arrow-shaped visual indicators show which items have been claimed against in the Task, Contract, and Components lists. Green arrows indicate the tasks, contracts, and components that have been claimed with a positive installed quantity. A red arrow indicates a negative quantity has been claimed. No arrow indicates nothing has been claimed yet for that task, contract, or component.

You can also favorite certain components that you know you will be using frequently by clicking on the star-shaped icon next to the corresponding component. When selected, these components move to the top of the list eliminating the need to scroll through a long list of items.

You can delete tasks in the Time sheet tab if needed.
You can also view and add notes and issues to components. If there are notes or issues associated with a component, you can see them on the Quantities tab when you click the Add notes icon next to the component. Notes and issues are shown in the side panel in green and purple, respectively, to distinguish them from each other.

Notes/Issues Tab
The Notes/Issues tab is identical to the Notes/Issues tab in the Planning Phase.

Productivity Tab
The Productivity tab is identical to the Productivity tab in the Planning Phase. The only difference from the planning stage is that the Productivity tab now contains Actual G/L section that reflects the actuals input in the Time Sheet and Quantities tabs, which will be discussed in further detail in the next topic of this lesson.

Sign In/Sign Out Tab
The Sign In/Sign Out tab is the only new tab for the Execution Phase. It allows crewmembers to sign in at the beginning of the day, enter breaks, and sign off on the actual hours input into the system at the end of the day. In addition, at sign-out, it lets a short questionnaire be answered which helps to ensure all labor rules are being upheld. This section is covered in detail in the final topic of this lesson.
